You can personalize the Windows environment on your ThinkHuge VPS by changing the display language to your preferred language. This can make system menus, settings, notifications, and other Windows interface elements easier to understand and navigate.
This guide walks you through the process of adding a new language through Control Panel’s Region settings and setting it as the default display language on your ThinkHuge VPS. The steps are straightforward and can be completed directly within your VPS without requiring any additional software.
Before you start: If your preferred language isn’t available in the list, you can add it directly from the Region settings. In most cases, there’s no need to manually download or install a separate language package.
Once the language has been added and selected, you may need to sign out and sign back in or restart your VPS for the changes to fully take effect.
To start, have your Remote Desktop application connected to your ThinkHuge VPS.
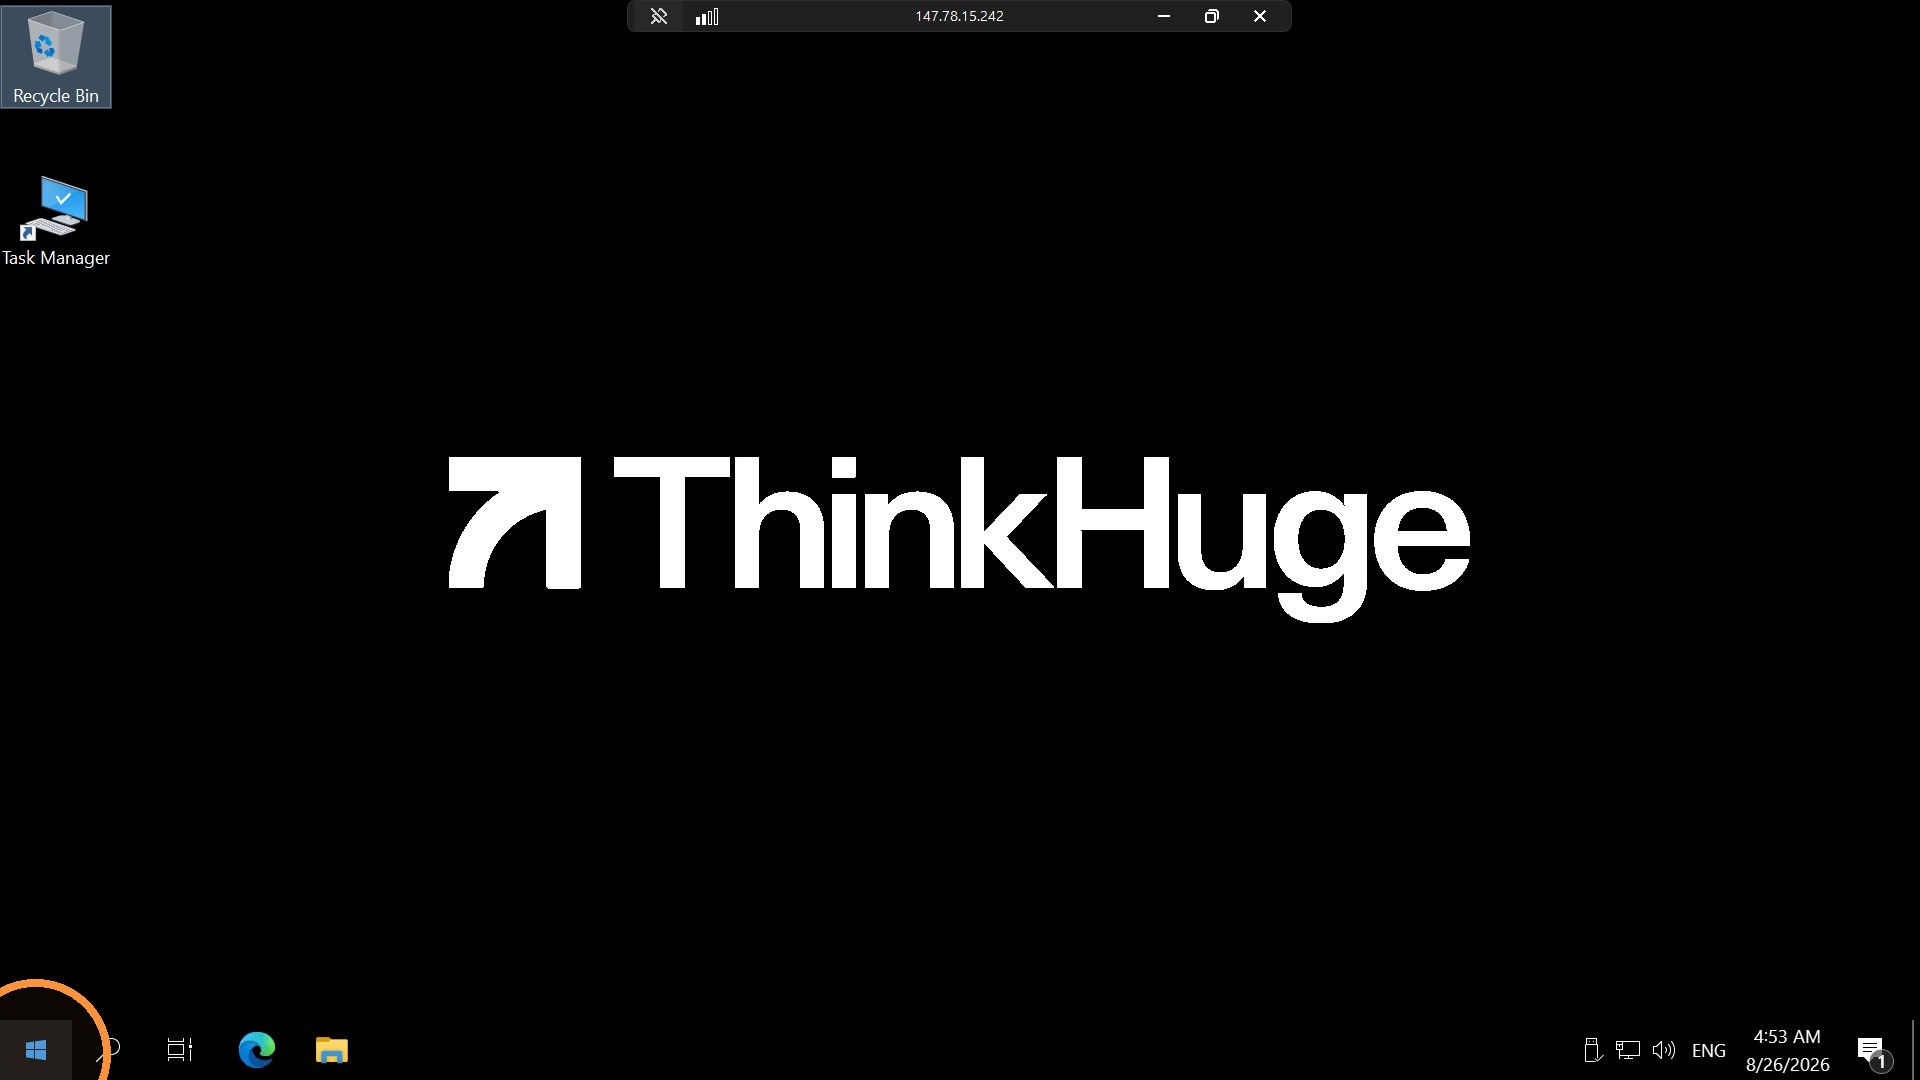
Step 1. Click the Start button
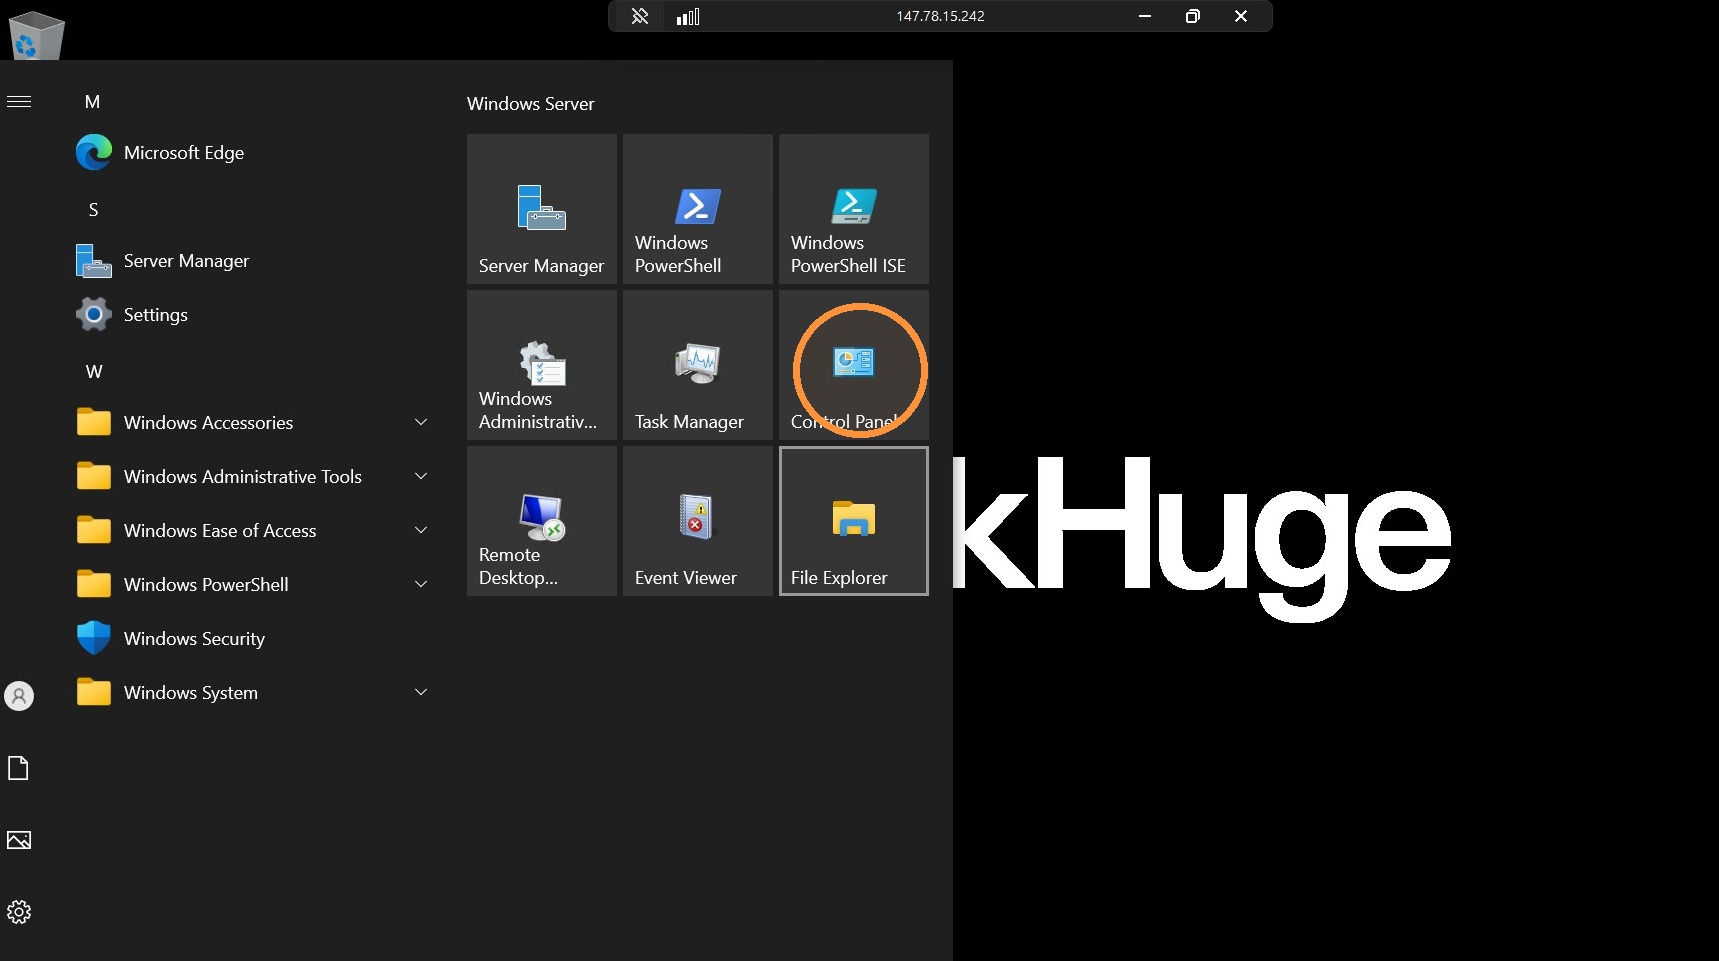
Step 2. Click Contol Panel
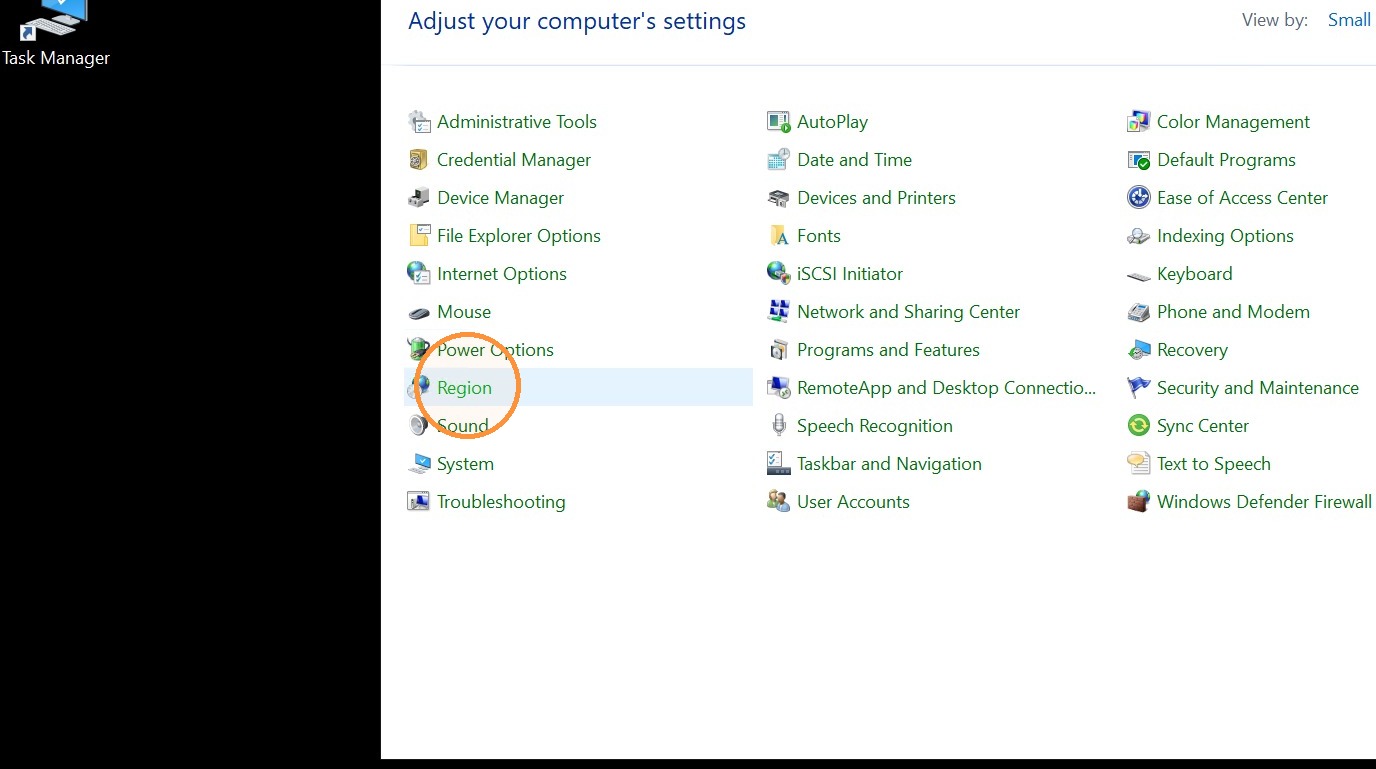
Step 3. Click Region
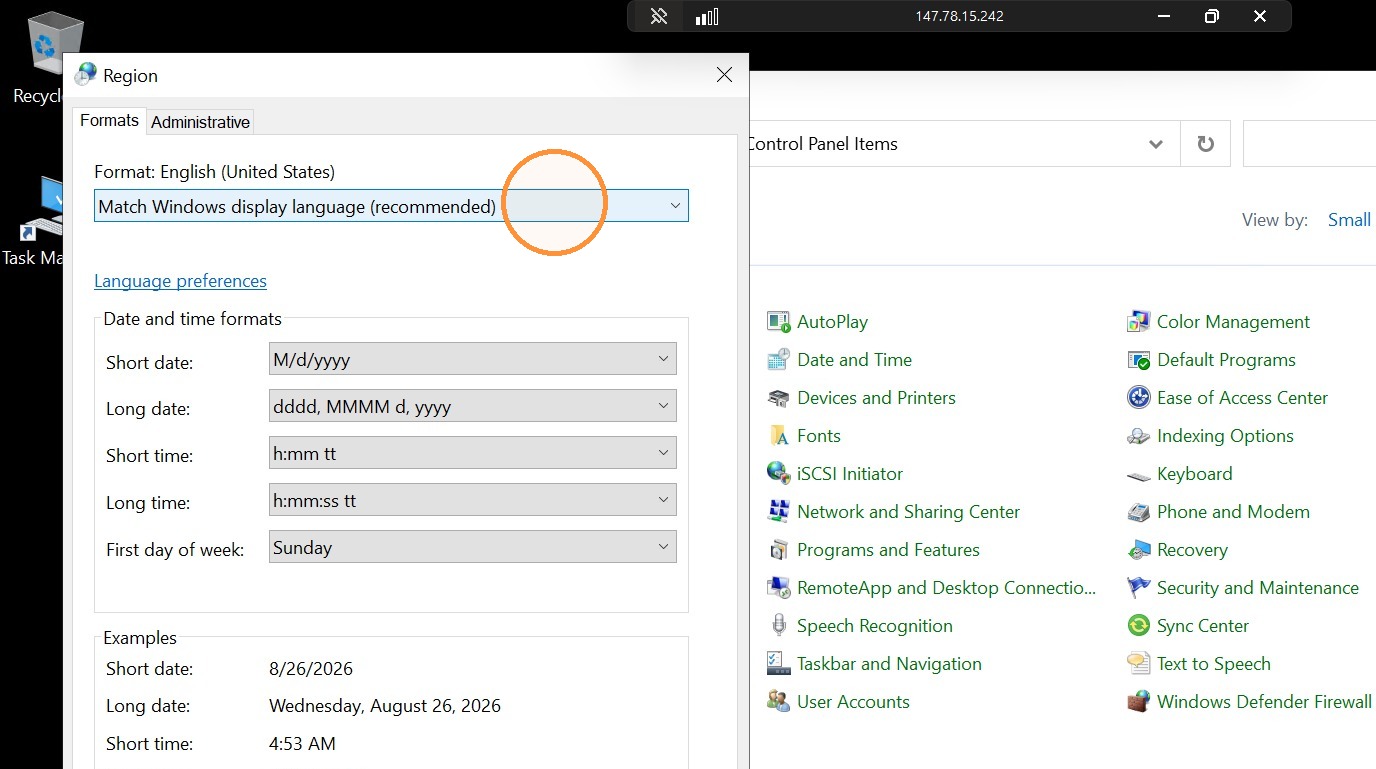
Step 4. Open the Format dropdown then select your preferred language
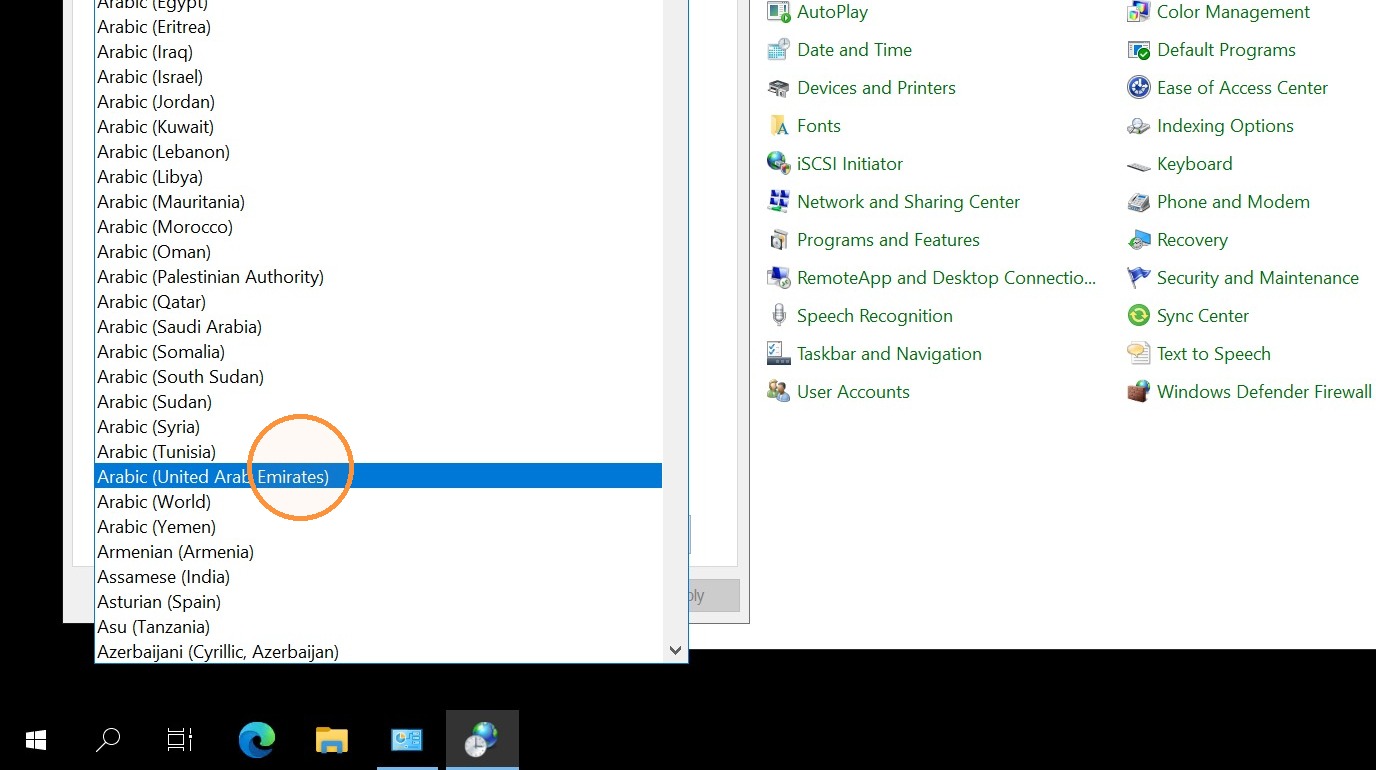
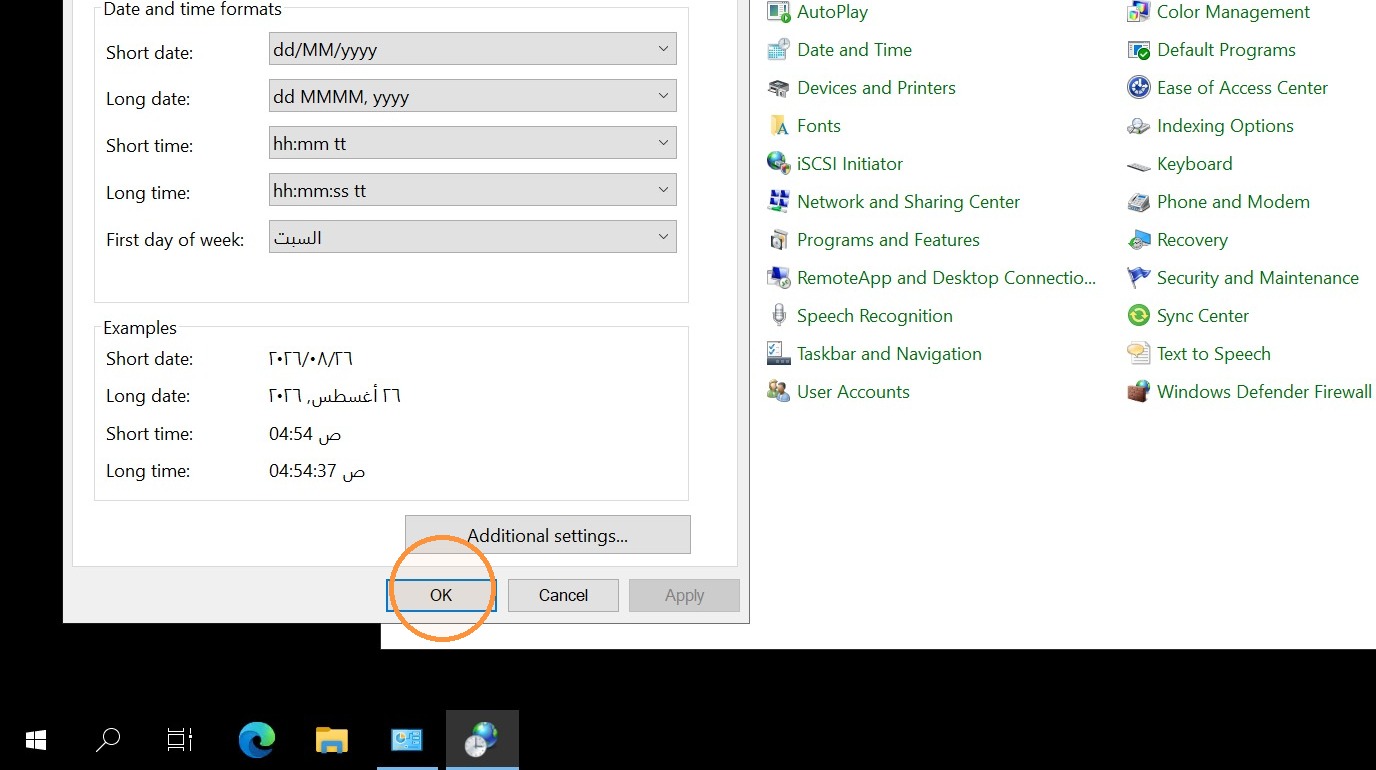
If you can't find the language from the display selection, you can install it without needing a separate download section. Here's how:
Step 1. Click Add a language
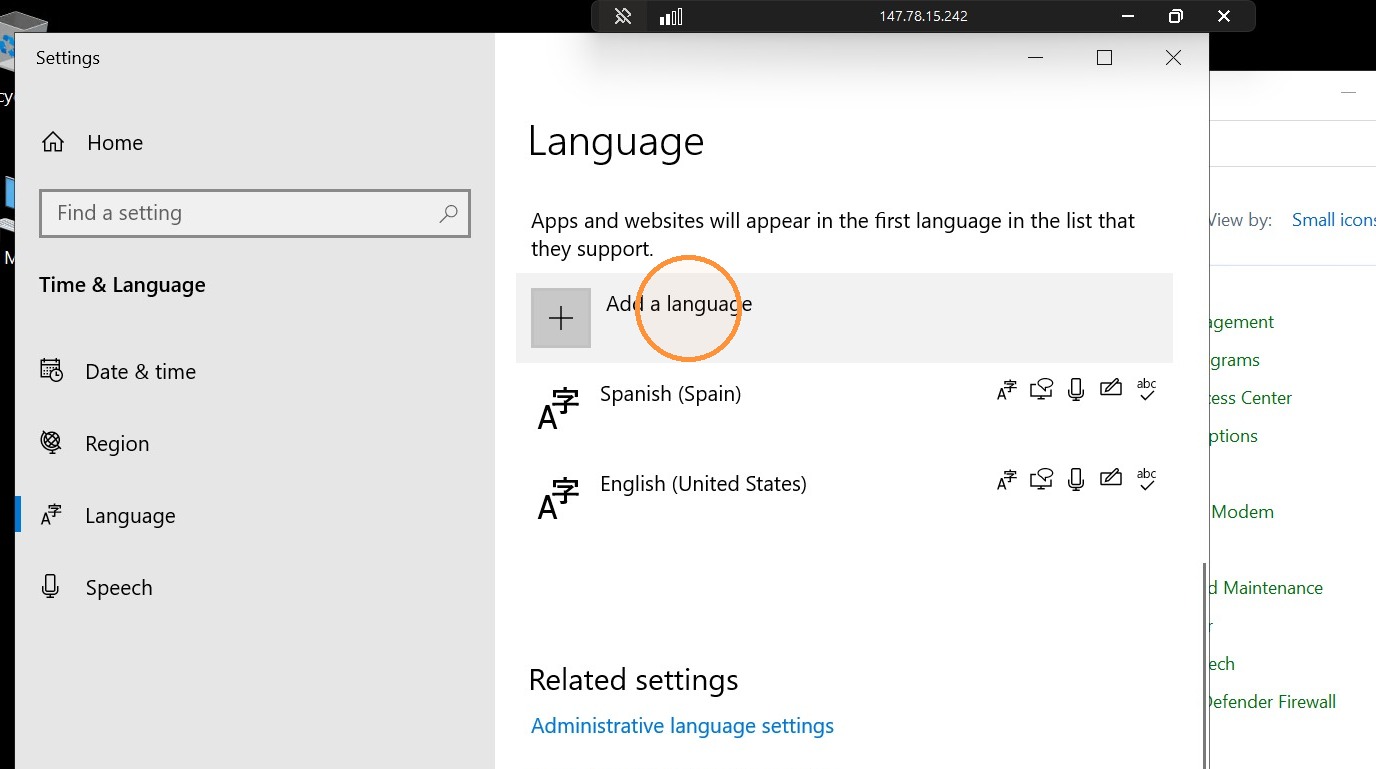
Step 2. Click the language search field and type your language preference then click Install.
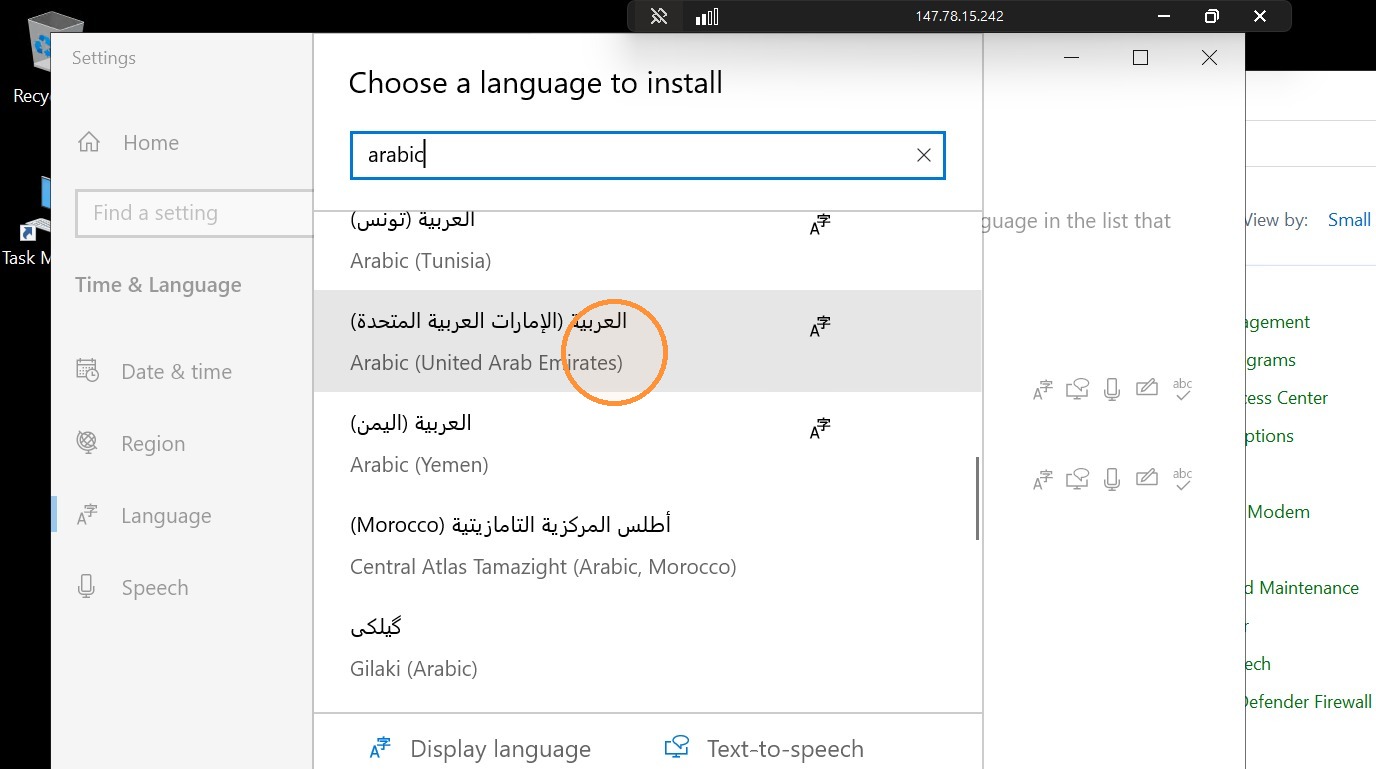
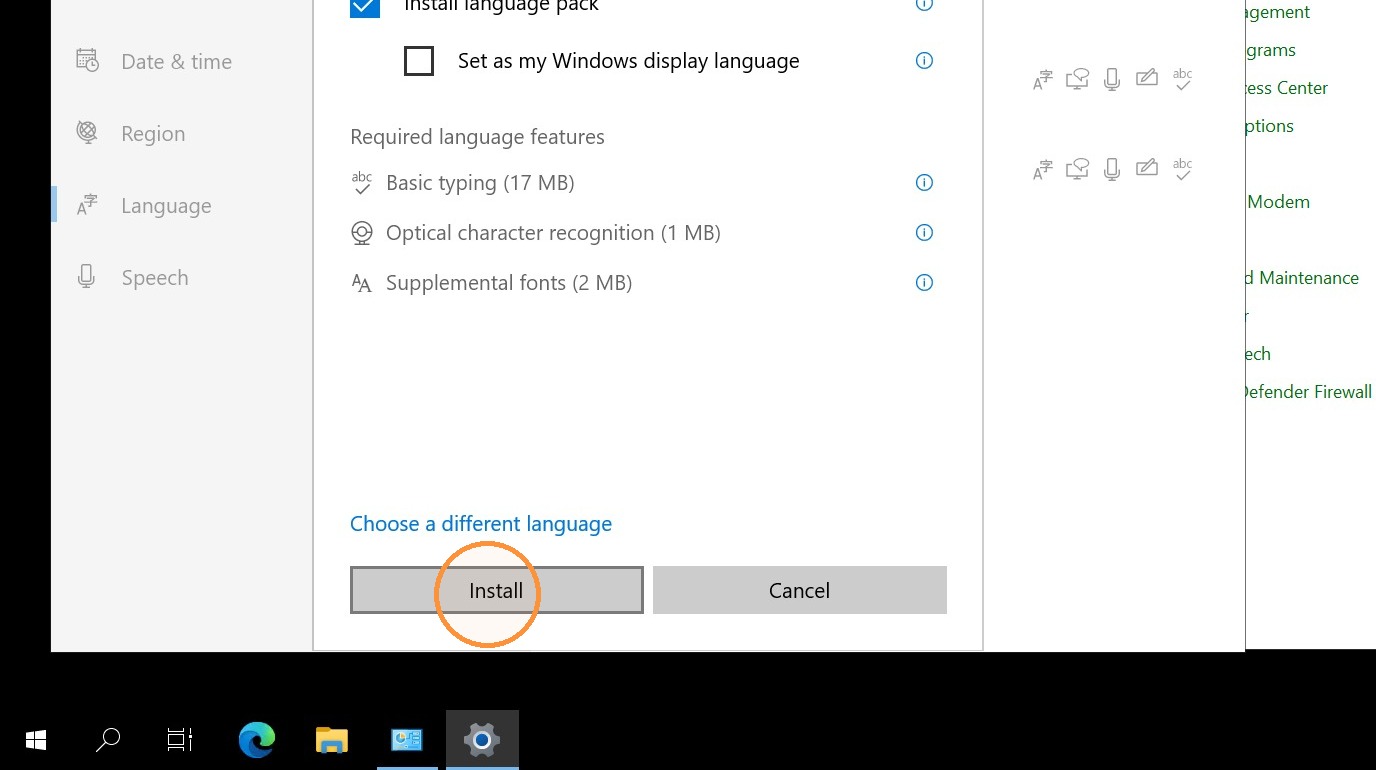
Step 3. Once installed, move the language to the top of the preferred languages list so it becomes the active display language.
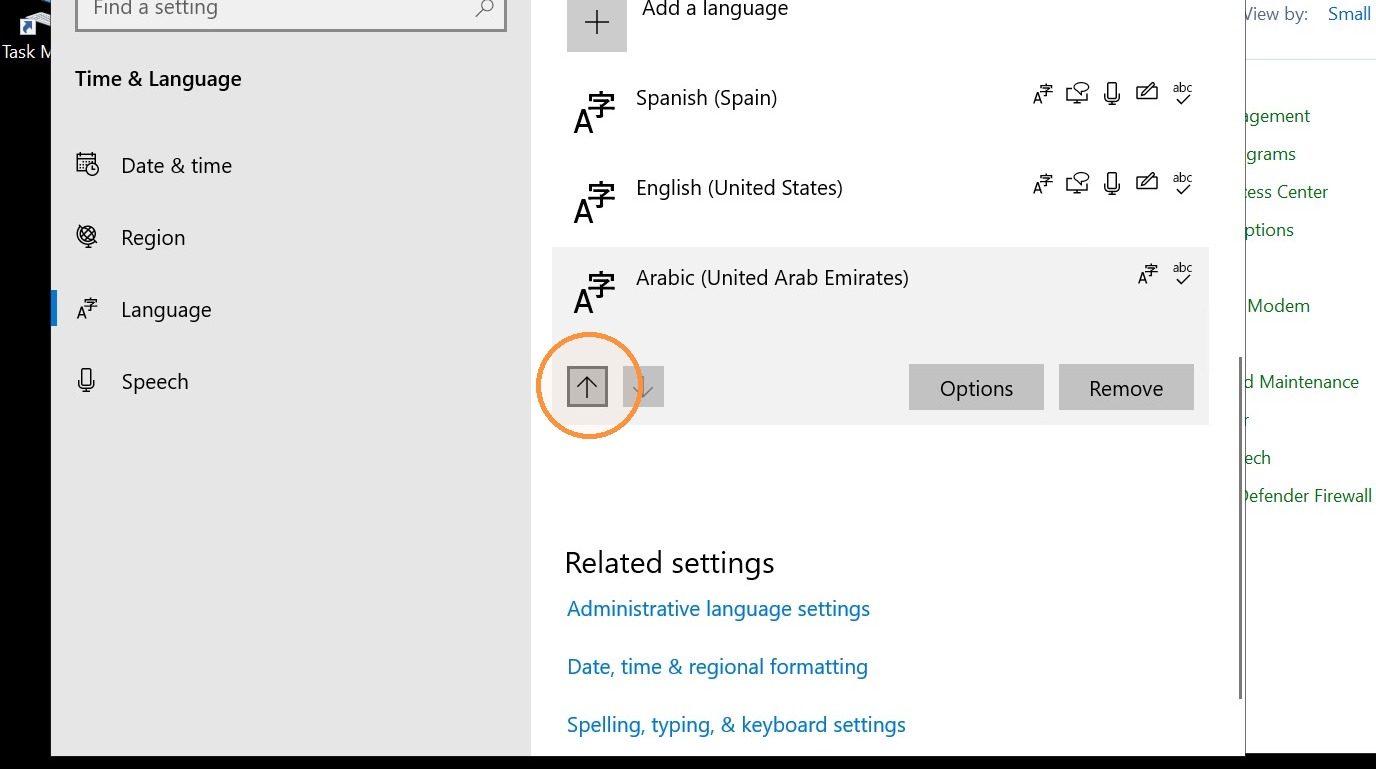
That's it! For the full change to take effect. you will need to sign out and sign back in.
Was this article helpful?
That’s Great!
Thank you for your feedback
Sorry! We couldn't be helpful
Thank you for your feedback
Feedback sent
We appreciate your effort and will try to fix the article